 Web HostingCost-effective shared hosting solutions
 Reseller HostingStart your own hosting business without tech hustle
 Affiliate ProgramEarn commission by referring customers to our platforms
 cPanel HostingHosting powered by cPanel (Mostly user friendly)
 Windows HostingOptimized for windows based-applications and sites
 Domain SearchFind and register available domain names in seconds
 All DomainsExplore and register domain extensions across the world
 Whois LookupLook up domain ownership, expiry dates and registrar information
 .com DomainSecure the most recognized domain for global credibility
 VPS HostingScalable virtual servers. Full root access. Faster speed.
 Managed VPSNot a tech expert? Choose our fully managed VPS server.
 Dedicated ServersGet the full power and complete control of your own physical server.
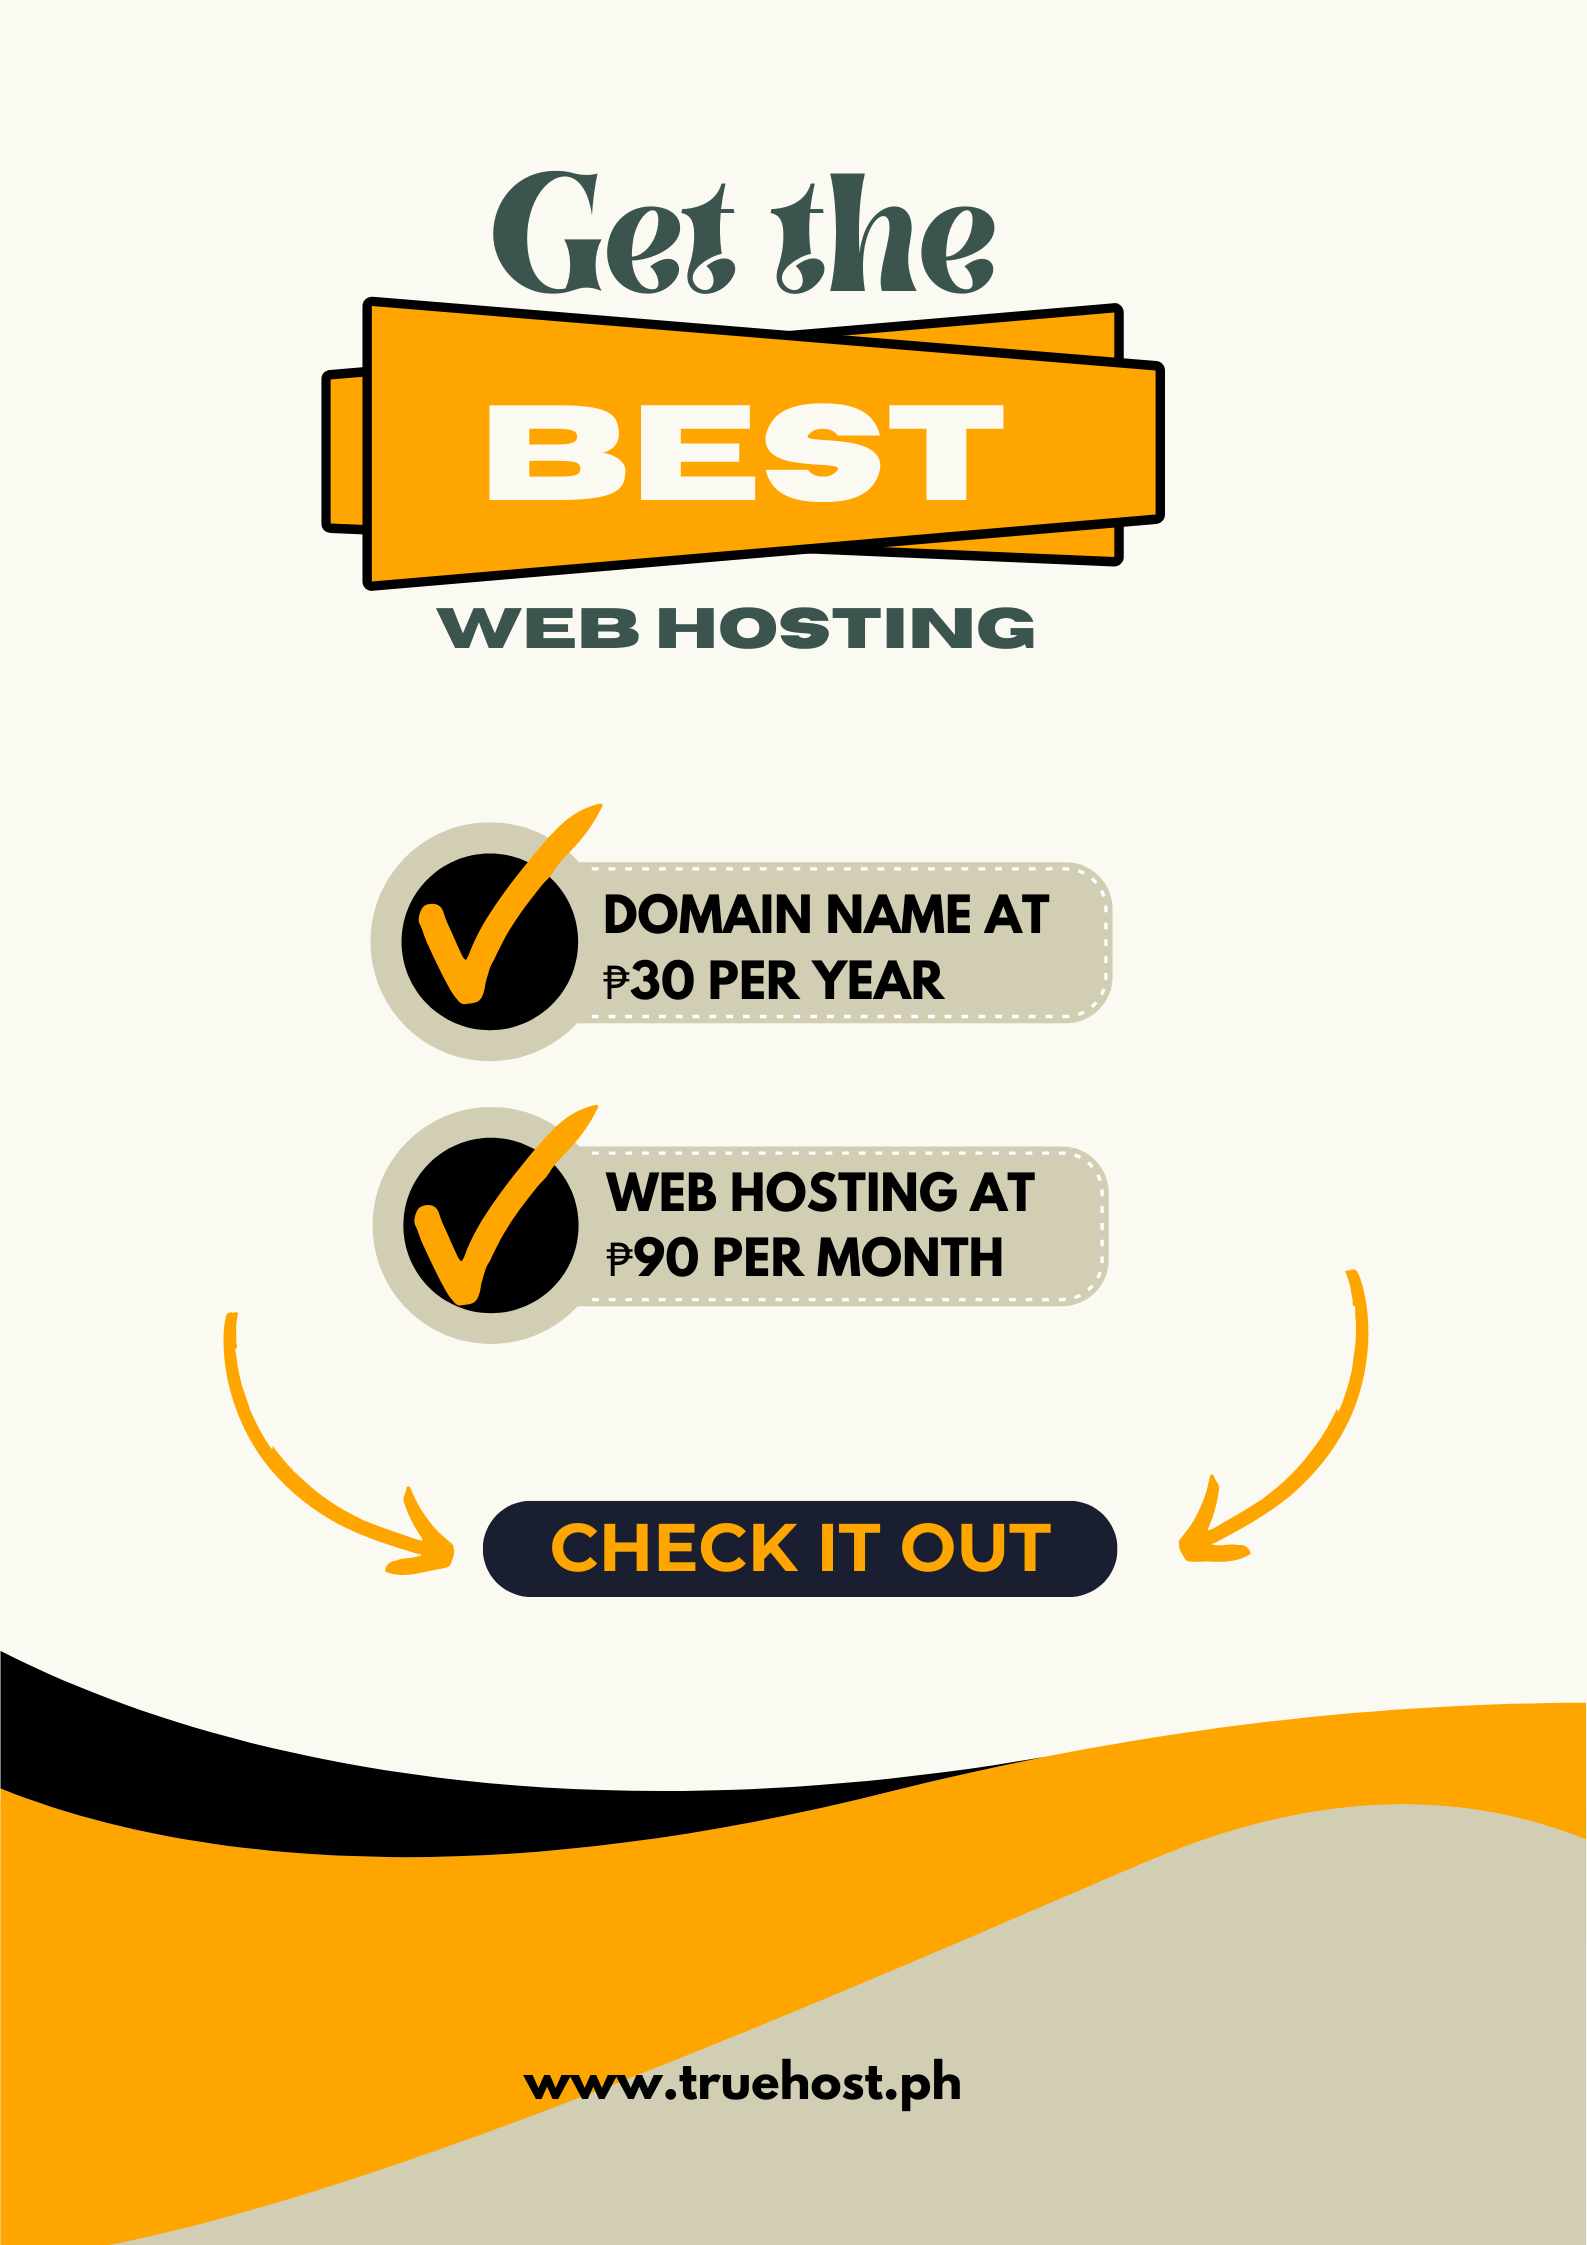
Have you ever thought about building your own website in the Philippines, but weren’t sure where to start?
Creating your own website may sound daunting, but it can actually be straightforward by following some key steps.
In this comprehensive guide, we’ll cover the entire process of making your own site from start to finish using the popular WordPress platform.
Whether you want to create a personal blog, portfolio site, e-commerce store, or web presence for your business, having your own website offers many benefits.
Your site gives you an online hub to share your work, promote your services, connect with an audience, and more.
The good news is that today’s tools make launching a site very achievable even without advanced coding skills.
We’ll explore these key phases to take you from idea to published website:
- Planning – Choose your domain name, find a reliable web host, and decide on the right CMS platform.
- Building – Install WordPress, pick a theme, customize the design, add content, configure plugins and settings.
- Promoting – Increase visibility through search optimization, social media, content distribution, and more.
- Analyzing – Track site analytics to gain insights into traffic and engagement.
Creating a functional website from scratch is made easy by following these steps.
Let’s get started!
Here are the 7 steps for how to create your own website in the Philippines:
- Choose a domain name – Your domain name is your website’s address on the internet (e.g. www.example.com). Pick a domain name that is short, easy to remember, and describes what your site is about. Use a domain registrar to check availability and register your chosen domain name.
- Get a web hosting plan – Web hosting provides the server space and bandwidth needed for your site. Look for a reliable and affordable hosting provider and choose a plan suited for your site’s size and traffic. Shared hosting works for most small websites starting out.
- Install WordPress – WordPress is the most popular CMS (content management system) used for creating websites. Most web hosts offer automated WordPress installation. Alternatively, you can manually upload WordPress files to your host server.
- Customize your design – Choose and install a WordPress theme to control the overall design and layout of your site. Pick a responsive theme for optimal viewing on all devices. Tweak theme settings like colors, fonts, and logo as needed.
- Add content – Start creating pages and blog posts to add your information and draw in visitors. Use text, images, video, and more. Optimize content with SEO-friendly titles, meta descriptions, tags, etc.
- Configure settings and plugins – Configure your site’s settings under the WordPress dashboard. Install plugins like contact forms, galleries, social sharing buttons, security scanners, and more.
- Promote your website – Build quality backlinks, create social media profiles, distribute content, and leverage email marketing. SEO and marketing will help people find and visit your new site.
How To Create Your Own Website in the Philippines
Step 1: Choose a Domain Name
Choosing the right domain name is an important first step in creating your website. Your domain name is your website’s address on the internet – for example “www.example.com”.
When picking a domain name, you want to choose something that is:
- Short and memorable – This makes it easy for people to remember your site and tell others about it. Avoid overly long or complex names.
- Descriptive – Having your site’s focus or brand in the domain name helps users understand what your site is about at first glance.
- Unique – Your domain should not be identical to another site to avoid confusion and trademark issues. Do some searches to check.
Some tips for brainstorming and verifying domain name options:
- Use keywords relevant to your business or site focus in the name.
- You can separate words in the domain with hyphens rather than spaces (i.e. your-business-name.com).
- Consider using popular domain extensions like .com, .net, or .org.
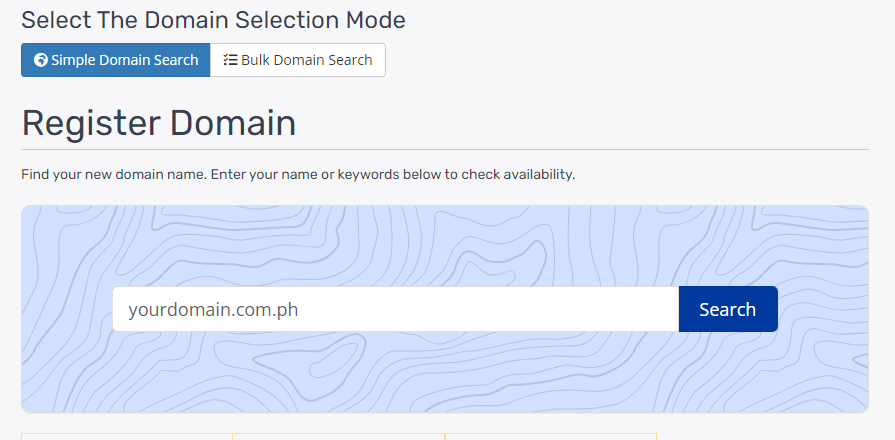
- Use a domain registrar like Truehost, GoDaddy, Google Domains, or Namecheap to search availability of potential names.
- Verify the domain name you want is not already trademarked.
- Consider alternate spellings or variations if your first choice isn’t available.
Once you’ve selected the perfect domain name for your website, you can register it through a domain name registrar. This registers the name officially and lets you use it for your site for a yearly fee.
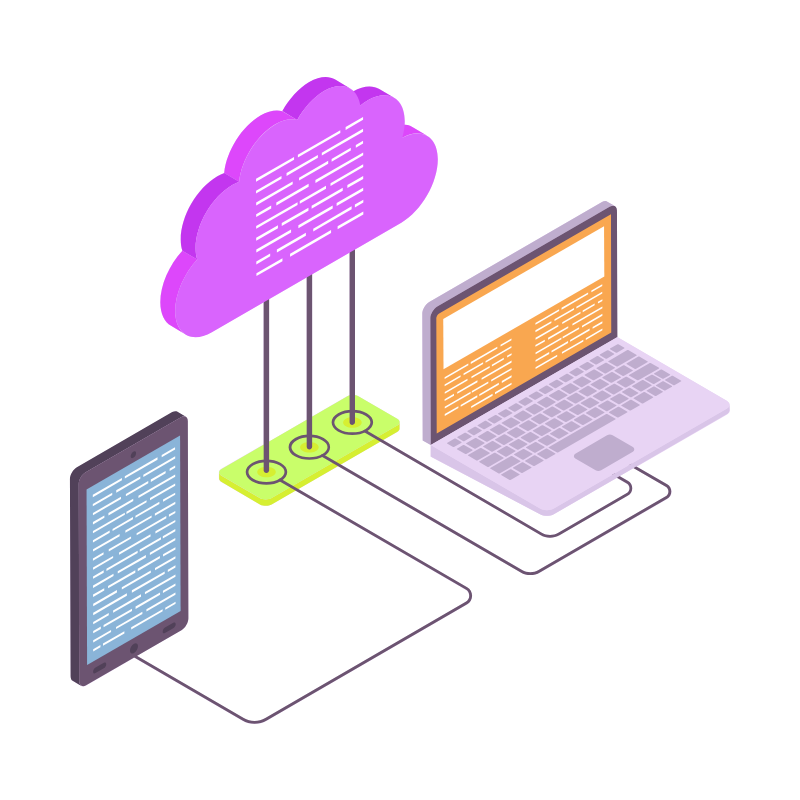
Step 2: Get a Web Hosting Plan in the Philippines
After securing your domain name, the next step is signing up for web hosting.
Web hosting in the Philippines provides the server space your site needs to operate and be accessible online.
Here’s what to look for in choosing a good web host in the Philippines:
- Reliability – Look for hosts with proven uptime track records and robust service infrastructure. Downtime can impact traffic and search rankings.
- Speed – Fast hosting ensures pages load quickly for your visitors. Pick a host with adequate server capacity and bandwidth.
- Security – Your host should take security seriously, with SSL certificates, firewalls, and regular software updates. Backups are also important.
- Support – See what technical assistance options are available from the host, such as phone, chat, documentation, and tickets.
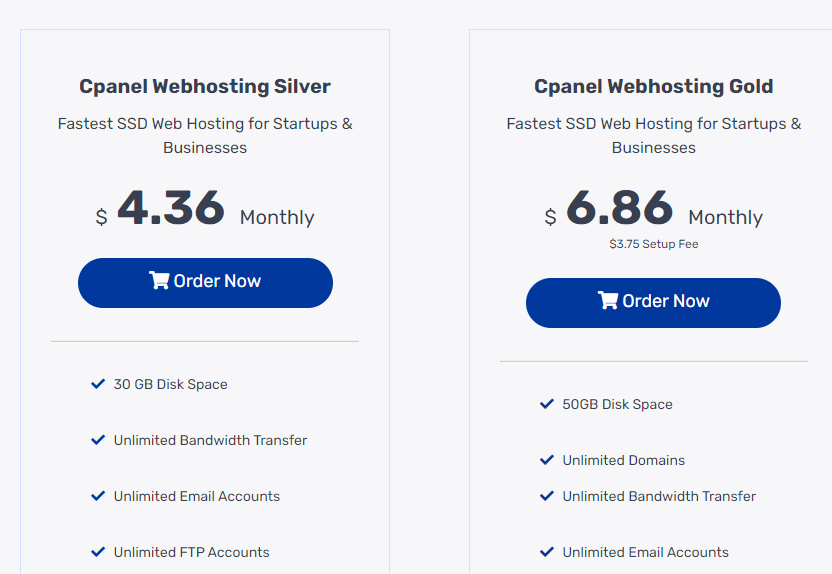
- Affordability – Shared hosting can provide sufficient resources for many business sites at lower costs. Expect pricing starting around $3-10 monthly.
For starting out, shared hosting often makes the most sense.
It allows you to share server space and resources with other sites to keep costs down.
As your traffic grows, you can upgrade to dedicated or cloud hosting for more resources.
Some top shared hosting providers include:
- Truehost
- HostGator
- A2 Hosting
- DreamHost
- iPage
Be sure to compare storage space, bandwidth, and features when choosing a plan.
Sign up for hosting and have your domain pointed to the host’s servers.
- 6 Types of Web Hosting in the Philippines + Pros and Cons
- 10 Best Web Hosting Services in the Philippines
- Is Google a Web Host in the Philippines?
Step 3: Install WordPress
Once your domain and web hosting are set up, it’s time to install WordPress to manage your site’s content and structure.
WordPress is the most popular CMS (content management system) used for building websites. Here are two options for installing WordPress for your site:
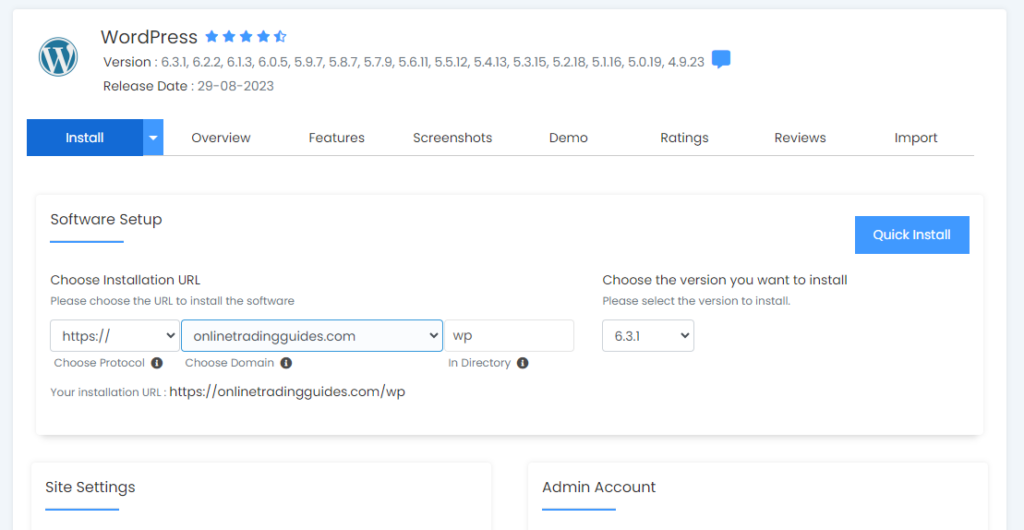
1. Automated WordPress Installation
Many web hosting providers offer tools to install WordPress automatically:
- Access your hosting provider’s control panel.
- Locate the section for WordPress or auto-installers. This may be labeled “Applications”, “Software”, or “Scripts”.
- Choose WordPress and click install.
- Allow a few minutes for the automated installer to setup WordPress files.
2. Manual WordPress Installation
If automated installation isn’t available, you can manually install WordPress by:
- Downloading the latest WordPress files from wordpress.org.
- Unzipping the files on your computer.
- Using FTP to upload the WordPress files to your web server’s
/public_html/or/www/folder. - Creating a database for WordPress through your hosting provider’s control panel.
- Running the WordPress installation script by accessing your domain URL in the browser.
- Entering your database details when prompted to connect WordPress to the database.
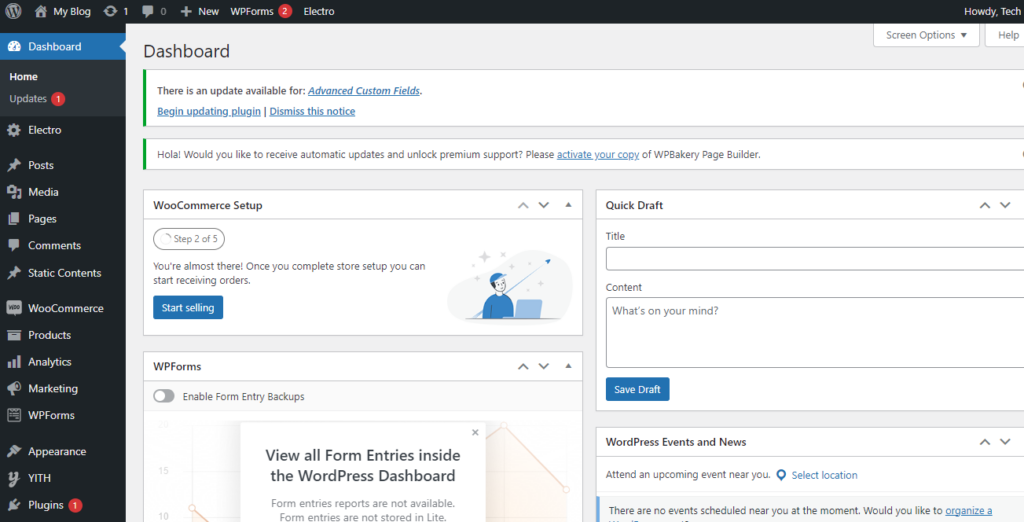
Either way, when WordPress is installed, you can login to the WordPress dashboard at yourdomain.com/wp-admin to manage your site.
Step 4: Customize Your Design
Now it’s time to customize the design and aesthetics of your WordPress site. This involves picking a theme and tweaking it to match your brand.
Choosing a Theme
WordPress themes control the overall layout, style, and appearance of your site. Browse the WordPress themes directory to find free or paid themes matching your niche or needs.
Key theme features to consider:
- Responsive design (adapts to mobile devices)
- Search engine optimization
- Speed and performance
- Customization options
- Demos and reviews
Install your chosen theme from your WordPress dashboard. Activate it to make the theme live.
Customizing Your Theme
Most WordPress themes allow some degree of visual customization, letting you put your brand touch on the design. Here are some areas you can typically customize:
- Colors
- Fonts
- Logo
- Background images/textures
- Menu style
- Widget locations
- Page layout (sidebar or full-width)
Adjust these in your WordPress customizer or individual theme settings. You can also further modify CSS if desired.
Step 5: Add Content
Now it’s time to add content to your WordPress site to attract and engage your target audience.
Here are key types of content to include:
Pages
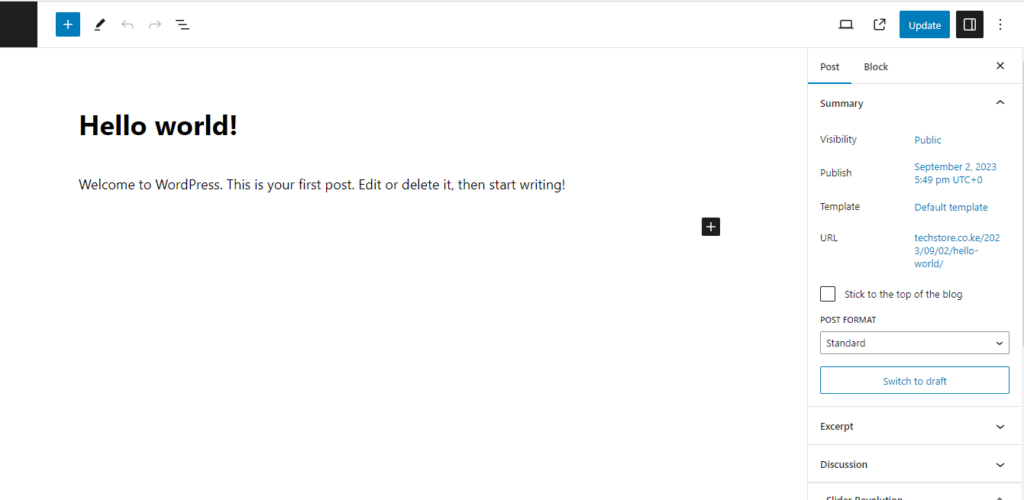
Pages make up the main static content and structure of your site, like about us, contact, services, etc. Add new pages in WordPress as needed.
Blog Posts
A blog or news section with regular posts provides fresh evergreen content. Write posts that align with your niche and audience interests.
Media
Images, videos, graphics, and downloads help draw users in. Optimize and incorporate visual media.
Products/Services
Ecommerce sites should showcase products/services. Other sites can list offerings under pages.
User-Generated Content
Visitor comments on posts and reviews build engagement. Activate these if appropriate.
Navigation Menus
Structure your content by creating menus linking to pages, categories, and custom URLs.
As you add content, follow SEO best practices by including relevant keywords in titles, meta descriptions, alt text, URLs, etc.

Produce high-quality content that provides value for your audience. Update site content regularly to give visitors reasons to return.
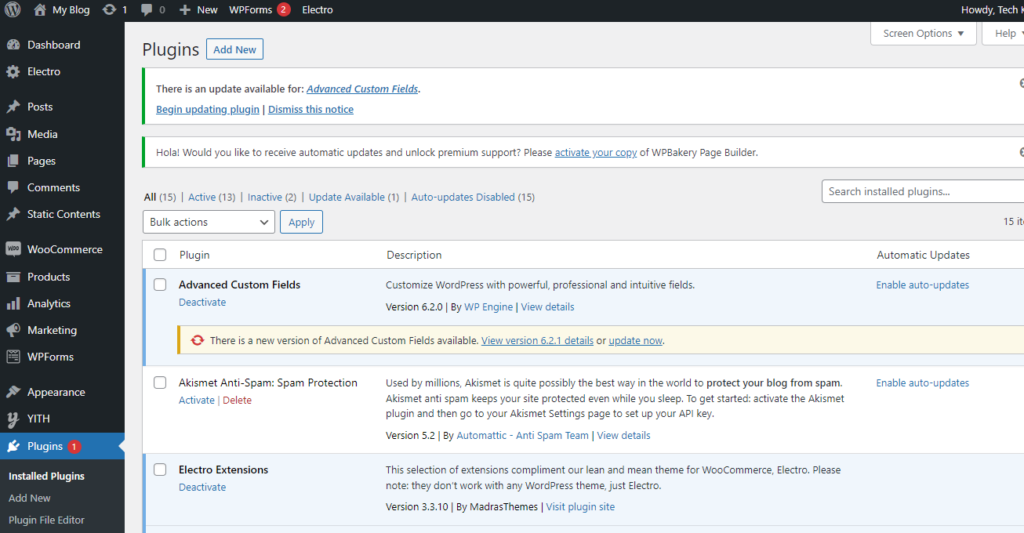
Step 6: Configure Settings and Plugins
Optimizing your WordPress site’s settings and adding key plugins will provide important functionality for your users and site management.
Configure Settings
Review settings under the WordPress Dashboard such as:
- General – Site title, URL, default user role, etc.
- Writing – Post revisions, default post category, formatting, etc.
- Reading – Page display options, RSS feeds, etc.
- Discussion – Comment and pingback configurations.
- Media – File upload options.
- Permalinks – Post URL structure ( optimize for SEO).
Update any options needed for your site.
Install Plugins
Plugins extend WordPress’ functionality. Consider these popular options:
- Security – Security scanner, firewall, login limiter, and backup plugins.
- Performance – Caching and optimization plugins like W3 Total Cache.
- Forms – Contact form, newsletter, booking form, etc.
- SEO – SEO optimization plugins like Yoast SEO.
- Social – Social sharing buttons, follow buttons, social login.
- Ecommerce – Shopping carts, payment gateways, shipping calculators.
- Site Management Tools – Advanced menus, sitemaps, Google Analytics.
Search the plugin directory in your dashboard to find and install plugins.
Monitor their compatibility and updates.
Step 7: Promote Your Website in the Philippines

With your new website built, it’s time to promote it and get visitors! Here are proven strategies to get your site found:
- Search Engine Optimization (SEO) – On-page and off-page SEO helps your content rank higher in search engines like Google. Do keyword research, optimize pages, build quality backlinks, and publish fresh content.
- Content Distribution – Distribute and promote your content on social media, submit to industry websites and directories, guest post, and build backlinks to pages.
- Social Media – Promote your website across all your brand’s social media accounts like Facebook, Twitter, LinkedIn, Pinterest, etc. Engage your followers.
- Email Marketing – Collect emails through opt-in forms and send newsletters with website content updates, promotions, etc.
- Paid Ads – Consider small paid search, social media, and display ad campaigns through Google, Facebook, Instagram, etc. to reach more potential customers.
- Influencers – Partner with relevant influencers and thought leaders to help spread awareness of your site. Offer guest posts, reviews, social promos.
- Local SEO – Optimize locally with schema markup, listings on directories like Google My Business, Bing Local, Apple Maps, etc.
With ongoing promotion through these tactics, you can grow your website’s visibility and traffic over time.
Track progress in Google Analytics.
Key Takeaways:
- Choose a domain name in the Philippines that is short, memorable, and aligns with your brand. Check availability with a registrar before registering your domain.
- Sign up for web hosting to get the server space and bandwidth your website needs. Shared hosting works well for most starter sites.
- Install WordPress using your host’s auto-installer or by manually uploading WordPress files via FTP. This puts the CMS in place to start building.
- Customize your design by installing and configuring a WordPress theme. Choose one that is responsive, SEO-friendly, and customizable.
- Add content like pages, blog posts, menus, and media to attract and engage visitors. Follow SEO best practices when structuring content.
- Configure settings and plugins to enable key site functionality, security protections, performance optimizations, forms, ecommerce, and more.
- Promote your website through ongoing tactics like SEO, social media, email marketing, content distribution, paid ads, and influencer outreach. Gain visibility and drive traffic.
Conclusion
By following these key steps, you can launch your own website in the Philippines.
Having your own site opens up new opportunities to grow your online presence, promote your brand, share your passions, publish your work, sell products or services, and more.
With the domain name and hosting in place, you can use popular tools like WordPress to build your site exactly how you want it.
Customize the design to reflect your brand’s visual style.
Populate the site with quality content tailored to your goals and audience interests. Install plugins to enable needed features and functionalities.
Promoting and marketing your new website is important to find an audience in the highly competitive online space.
Be patient and employ a variety of short and long-term strategies to get your site noticed and build organic growth over time.
Measure and analyze your results using tools like Google Analytics.
Creating and launching a website is a highly rewarding process and achievement.
The initial setup may take some time and learning, but the long-term benefits are well worth it.
Your customized site will have your unique touch and purpose. A well-executed site strategy can pay dividends for years to come.
Related: